Windshield Repair Kit

US Item #: 90110
Categories ,
Tech Docs
Tech Docs
Product Details:
Windshield Repair Kit helps prevent damage from spreading on windshield glass from bulls eyes, star damage and chips up to 1-1/4 inches. The spring-lock feature makes professional quality repairs with no mixing required. Cures in sunlight and restores to crystal clear.

Size: 1 Kit, clamshelled

Units per case: 6

Features
1Repairs Bullseyes, Star Damage & Chips (up to 1.25” in diameter)
2Restores Crystal Clear Vision
3Cures in Sunlight
  1. Move your car to a shaded location and allow the windshield to cool to a temperature between 55 and 75 degrees. If necessary, roll down your car windows.
  1. Once the windshield is cool, locate the PIT (the “star” mark left by the striking object) on the windshield of your car.
  2. Using the push pin, clean out any loose debris from the PIT (STEP 1).
  3. After you remove the loose debris, prep the area surrounding the PIT, by wiping it with a dry cloth or paper towel, to remove all dirt and residue.
  4. Position the adhesive seal over the PIT on your windshield such that the PIT is within the central hole of the adhesive seal and the adhesive seal’s tab is pointing upward (STEP 2).
  1. Once the adhesive seal is in position, lift it and remove the backing off the side of the adhesive seal, which is facing the glass of the windshield, opposite the upwardly pointing tab. Then, press the adhesive seal onto the glass surrounding the PIT. The PIT must continue to be positioned within the adhesive seal’s central hole and the adhesive seal’s tab must be pointing upward.
  1. Run your fingers around the PIT on the adhesive seal to make sure the adhesive seal is totally stuck on the glass surrounding the PIT, and there are no air bubbles trapped underneath the adhesive seal.
  1. Peel the backing off the side of the adhesive seal facing away from the windshield. The adhesive seal is now ready to receive the pedestal

(STEP 3).

  1. Place the pedestal over the adhesive seal by lining up the center of the pedestal with the PIT within the center hole of the adhesive seal and matching up the tabs, tab to tab (STEP 4). Press the pedestal down onto the adhesive seal. Run your fingers around the neck of the pedestal all the way out to its edges to insure that the pedestal is totally stuck on the adhesive seal and there are no air bubbles trapped under the pedestal.
  1. Break or cut off the very end of the tip of the resin tube. Insert the tip of the tube into the pedestal’s neck (STEP 5). Carefully dispense a small amount of resin into the pedestal by squeezing the sides of the resin tube, using no more than about 75% of the resin in the tube. You will use a drop of the remaining resin later, in one of the steps that follow below. Remove the tip from the pedestal and wipe off any excess resin remaining on the tip. Set resin tube aside for later.
  1. Take the injector and insert its tip into the mouth of the pedestal neck and press to form a tightly sealed connection (STEP 6).
  2. Apply a vacuum to the pedestal by pulling up the plunger of the injector with one hand, while holding the barrel of the injector with the other, until the plunger’s lower notch is outside the barrel.
  1. Engage the lower notch in the plunger with a spring clip to lock the plunger in place (locked position), to hold the vacuum (STEP 7). Take your hands off the injector and allow it to remain in locked position for at least ten (10) minutes.
  1. Once the ten minutes are up, remove the tip of injector from the mouth of the pedestal neck to allow air to enter into the pedestal. Thereafter, re-insert the tip of the injector into the mouth of the pedestal neck. Push the plunger down the barrel of the injector until the plunger’s upper notch is right above the barrel, and lock the plunger by engaging the upper notch with a spring clip (STEP 8). Take your hands off the injector once again, and allow it to remain in the locked position, this time for at least twenty (20) minutes.
  1. Once the twenty minutes are up, take the injector off the pedestal.
  2. Using the safety razor, carefully lift up off the windshield glass the outer edges of both the pedestal and the adhesive seal, gently bending them away from the glass (STEP 9). Once the upper edges of both the pedestal and the adhesive seal are off the glass, grab both the pedestal and the adhesive seal tabs together to pull both the pedestal and the adhesive seal off the windshield glass.
  1. Wipe off excess resin if necessary.
  2. In one hand, take the resin tube you set aside in step 9. In the other hand, take the clear or yellow cure strip supplied in the kit (STEP 10). Carefully dispense a drop of resin into the PIT by squeezing the sides of the resin tube and then cover the PIT with the clear or yellow cure strip to confine the resin within the PIT.
  1. Throw out the resin tube. You will not need it any more. Using the safety razor, vent out any air bubbles that might be trapped under the clear or yellow cure strip by lightly running the sharp edge of the safety razor over the cure strip.
  1. Move and park the vehicle in direct sunlight for AT LEAST 15 minutes. DO NOT PARK THE CAR UNDER ANY SHADE. This will allow the sun’s UV rays to cure the resin and seal the PIT. If the day is cloudy then park the vehicle at a non-shaded spot, for AT LEAST ONE (1) hour.
  1. Once the curing time is over and the resin is cured, use the sharp edge of the razor to gently lift one corner of the cure strip off the glass (STEP

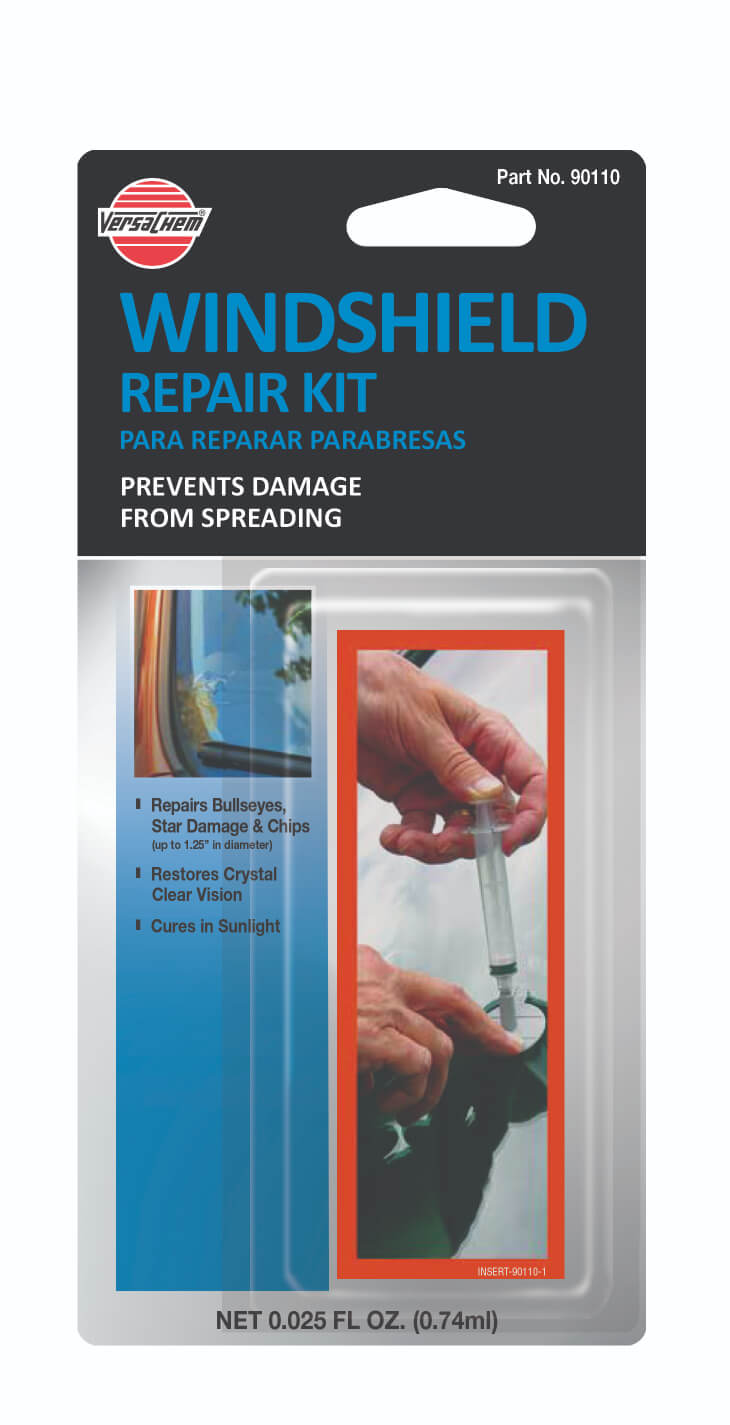
11). Grab the lifted corner and slowly remove the cure strip off the windshield in a gentle stripping motion.

  1. Run your finger over the surface of the PIT and the glass surrounding it. If it is rough, then smoothen the surface by using the sharp edge of the safety razor in a scraping motion to remove the cured resin. Then buff and polish the windshield with a glass cleaner or an alcohol wipe.

Causes skin irritation and serious eye irritation May cause an allergic skin reaction. May cause respiratory irritation.

Precautionary Statements – Prevention: Contains: 2-hydroxyethyl Methacrylate, Isobornylmethacrylate, 2,2- Ethylenedioxy)diethyl diacrylate, Acrylic acid. Wash face, hands and any exposed skin thoroughly after handling. Wear protective gloves/protective clothing/eye protection/face protection. Avoid breathing dust/fume/gas/mist/vapors/spray. Contaminated work clothing should not be allowed out of the workplace. Use only outdoors or in a well-ventilated area.

Precautionary Statements – Response: IF IN EYES: Rinse cautiously with water for several minutes. Remove contact lenses, if present and easy to do. Continue rinsing. If eye irritation persists: Get medical advice/attention.

IF ON SKIN: Wash with plenty of soap and water. If skin irritation or rash occurs: Get medical advice/attention. Take off contaminated clothing and wash before reuse.

IF INHALED: Remove victim to fresh air and keep at rest in a position comfortable for breathing. Call a POISONCENTER or doctor/physician if you feel unwell.

Precautionary Statements – Storage: Store in a well-ventilated place. Keep container tightly closed. Store locked up.

Precautionary Statements –Disposal: Dispose of contents/container to an approved waste disposal plant.

Keep out of the reach of children.

You may also like...

10342_Main
Versachem Heavy Duty Tailpipe Repair Kit
10343 Muffler Repair Kit
Muffler Repair Kit
favicon 512x512 1
Mega Grey™ Silicone
99939 VC Mega Grey RTV
Mega Grey™ Silicone
99839 VC Mega Black RTV
Mega Black™ Silicone
90214 mockup
Plastic Tank & Radiator Repair Kit
Buy online